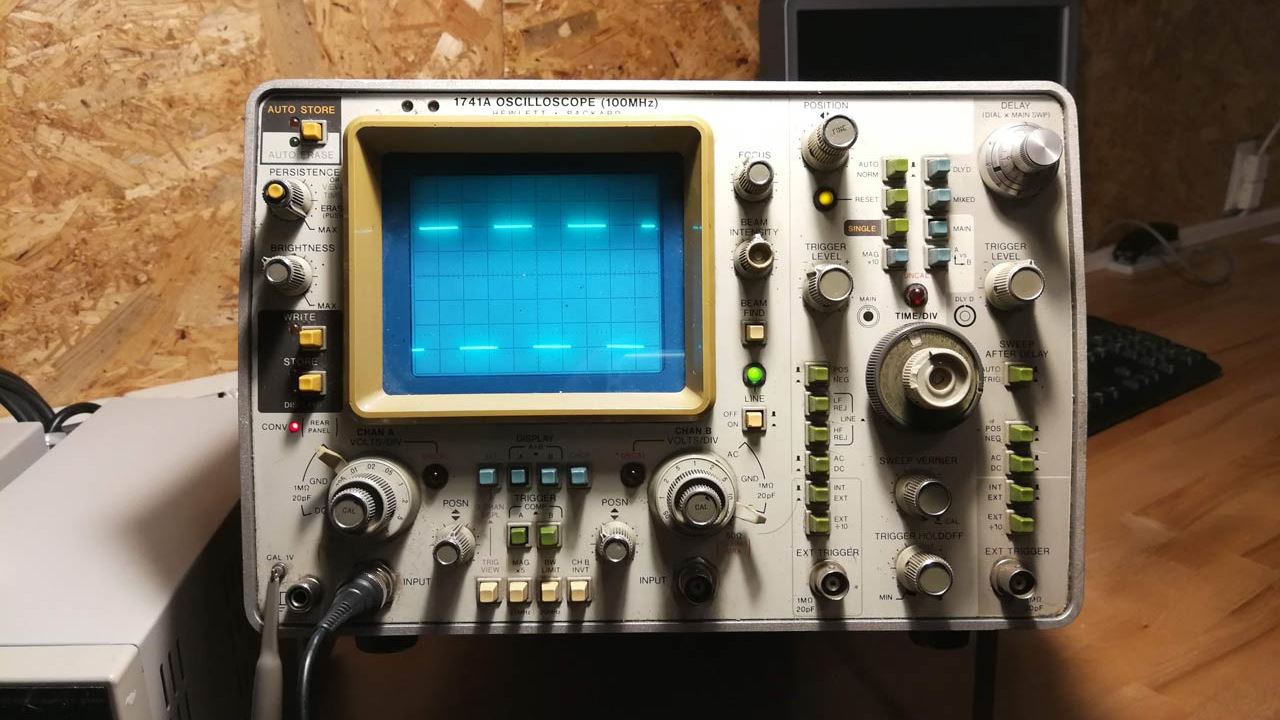
Every engineer, junior or senior, who is soldering, prototyping, developing, and debugging electronics needs a workspace with a minimum of tools and equipment. Depending on the problems that he tackles, the engineer’s minimum might vary. The Embeto Electronics Workspace was the laboratory that I have developed from Day 1 when I started doing electronics. Firstly I started with some THT components and an old but perfectly functioning HP1741A oscilloscope from my father and continuously improved my working environment by adding more useful tools and machines. I was inspired in the development of this workspace by other electronics spaces, such as Modulab’s Studio.
Hardware Design
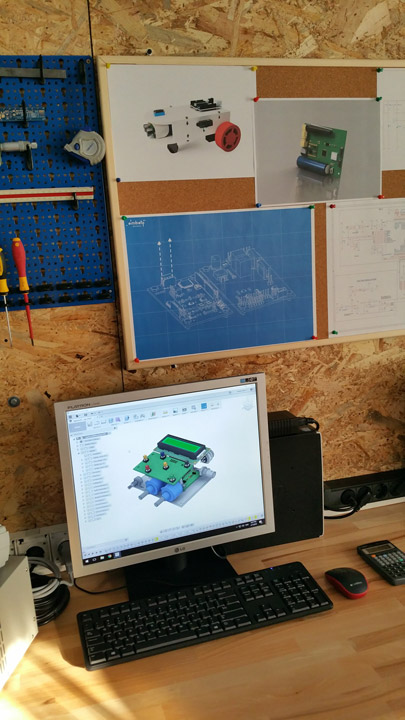
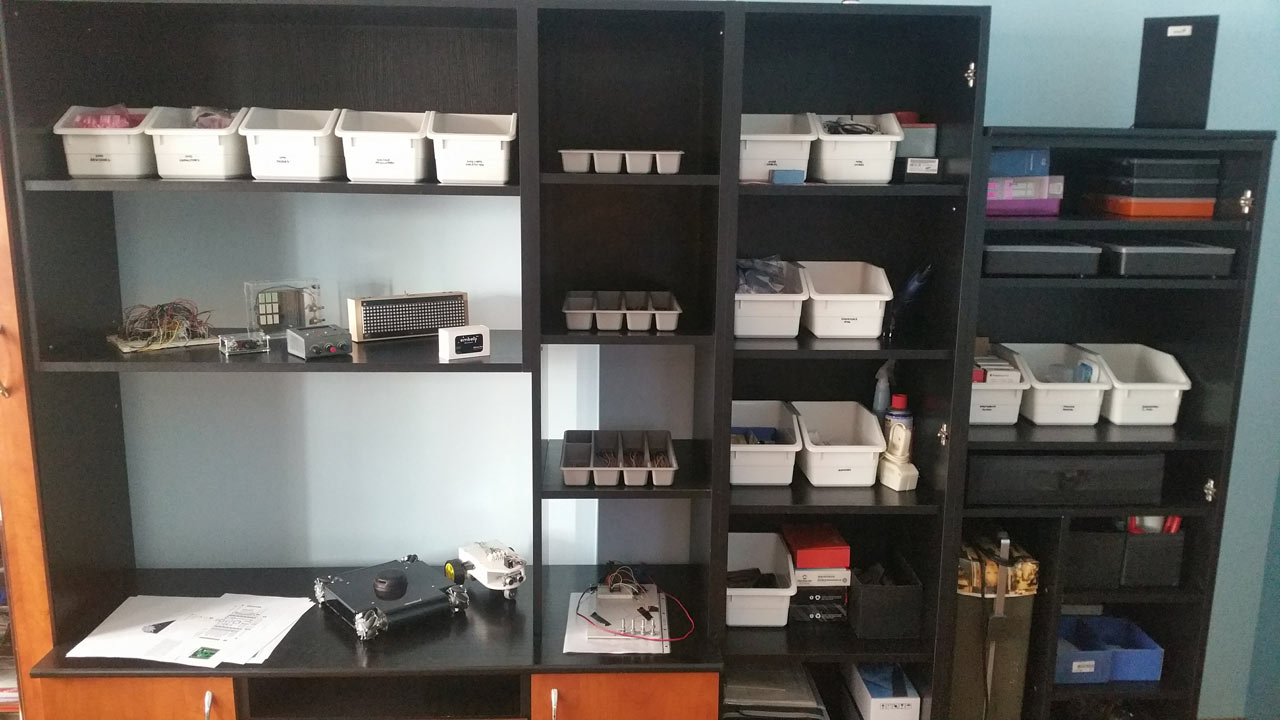
As you can see in this page’s banner, I had a wall of the space fully plated with OSB boards to be able to quickly attach to it other tools such as panels or organizers. The soldering and debugging bench was equipped with a Weller Pu 80 soldering station, power supplies, measurement tools, and a magnifying LED lamp. Always handy while testing USB-powered equipment such as Raspberry Pi microcontrollers is a multi-socket USB charger, which I had installed on the left side of the bench. Lastly, in the initial phases of development for an electronic device the THT components residing in the small wall organizers right in front of the bench were extremely useful for trying different topologies and schematic options.
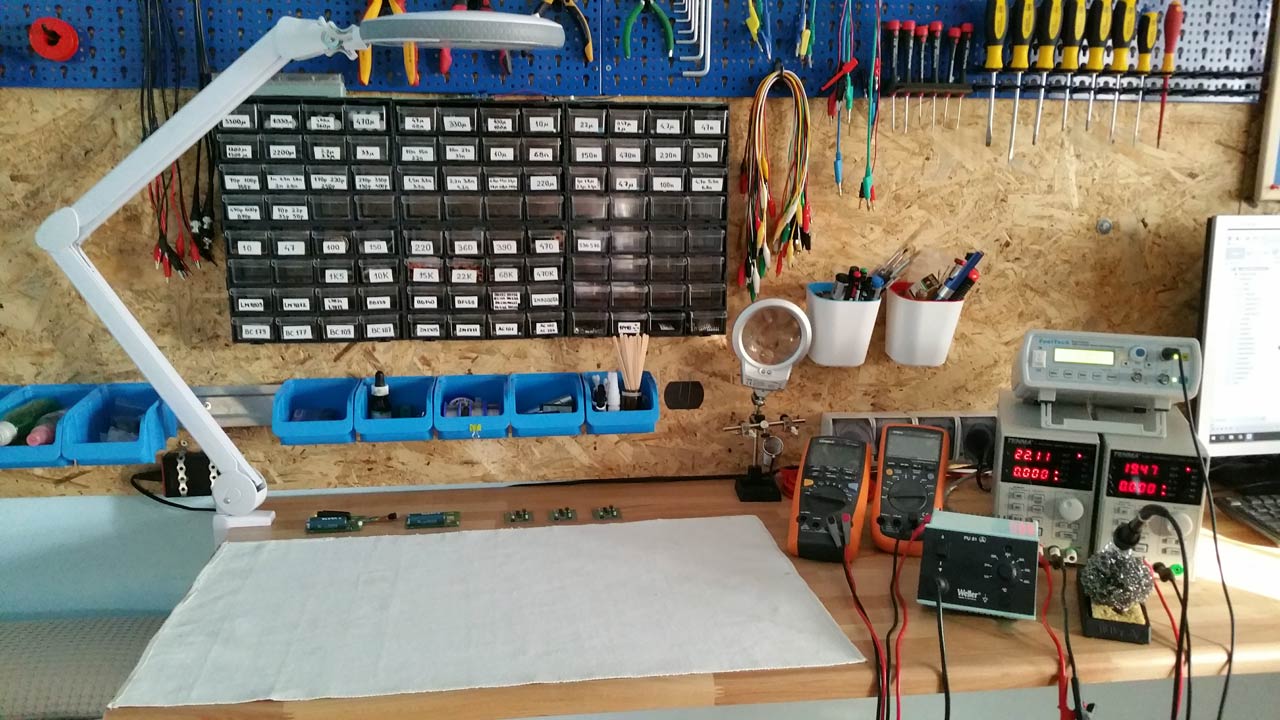
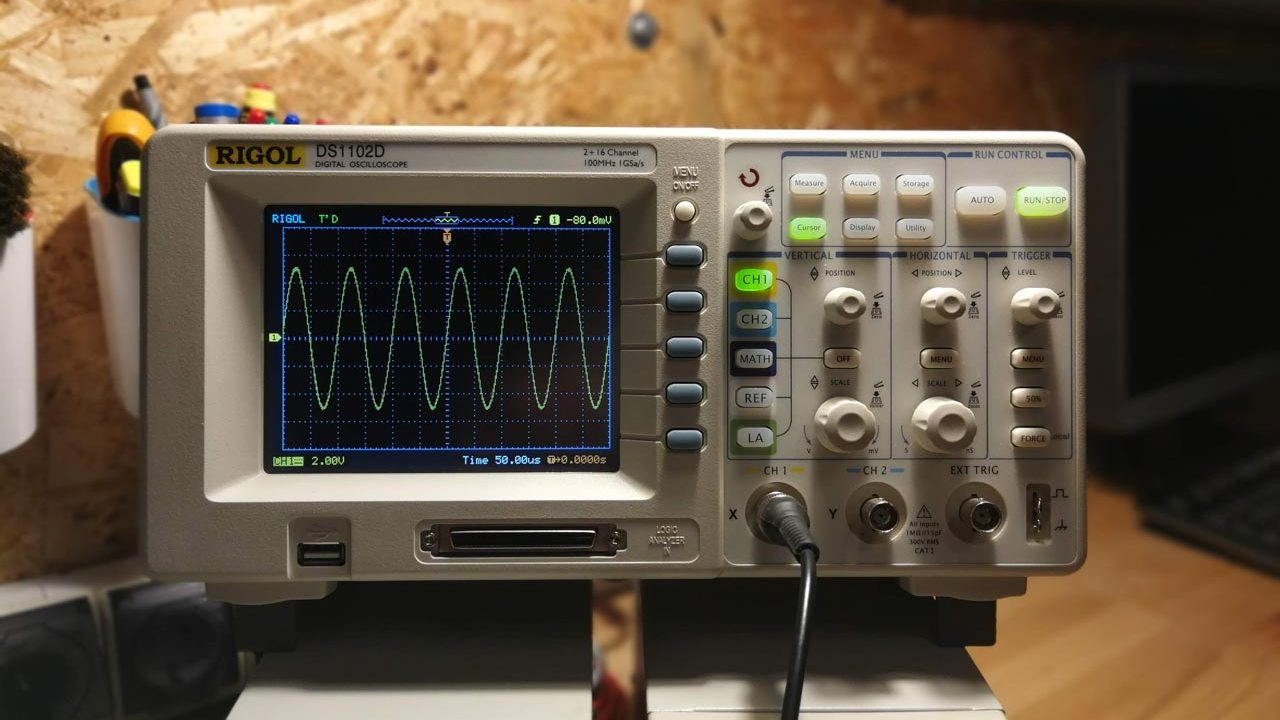
One mandatory piece of equipment for an electronics workspace is the oscilloscope. In its absence, one could only make vague assumptions on the features of time-varying signals without any real data from measurements. As previously mentioned, I started my Embeto Electronics workspace with an old HP 1741A oscilloscope which worked perfectly but was unfortunately limited due to its analog nature. I could also use a Rigol DS1102D one which I borrowed from some good friends every time I was in need.


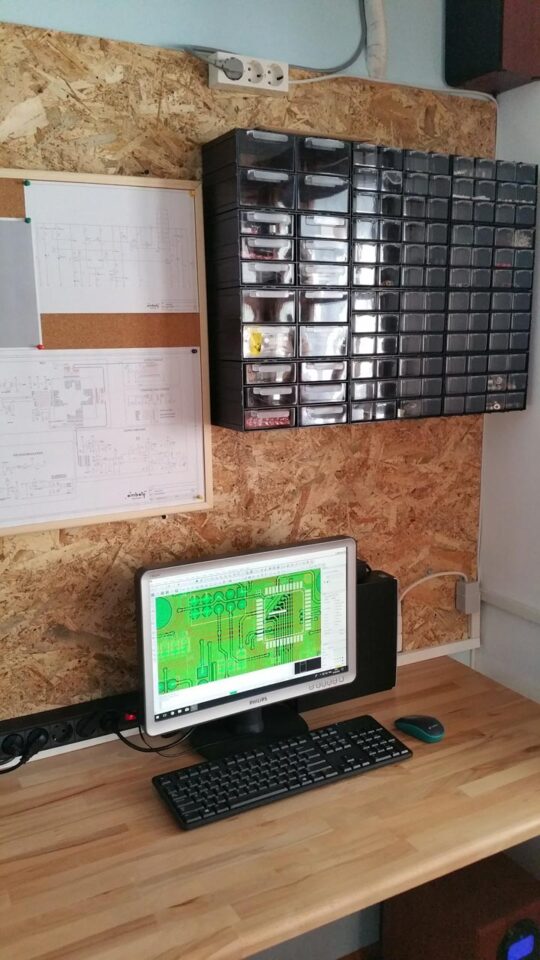
One other important part of the workspace was the PCB design bench. This is where I used software tools such as Capture CIS and Allegro PCB Designer to develop circuit boards ready for production, the majority of them factory-produced (e.g. SMSGate, smart cane for VI, microEDMpulse, mind battle) but also in-house prototyped (e.g. soundwaze, sequenster) using the Press’n’Peel method and etching with ferric chloride. Right in the proximity of this bench was positioned another wall organizer packed will all sorts of SMD components or THT connectors.
PCB Assembly
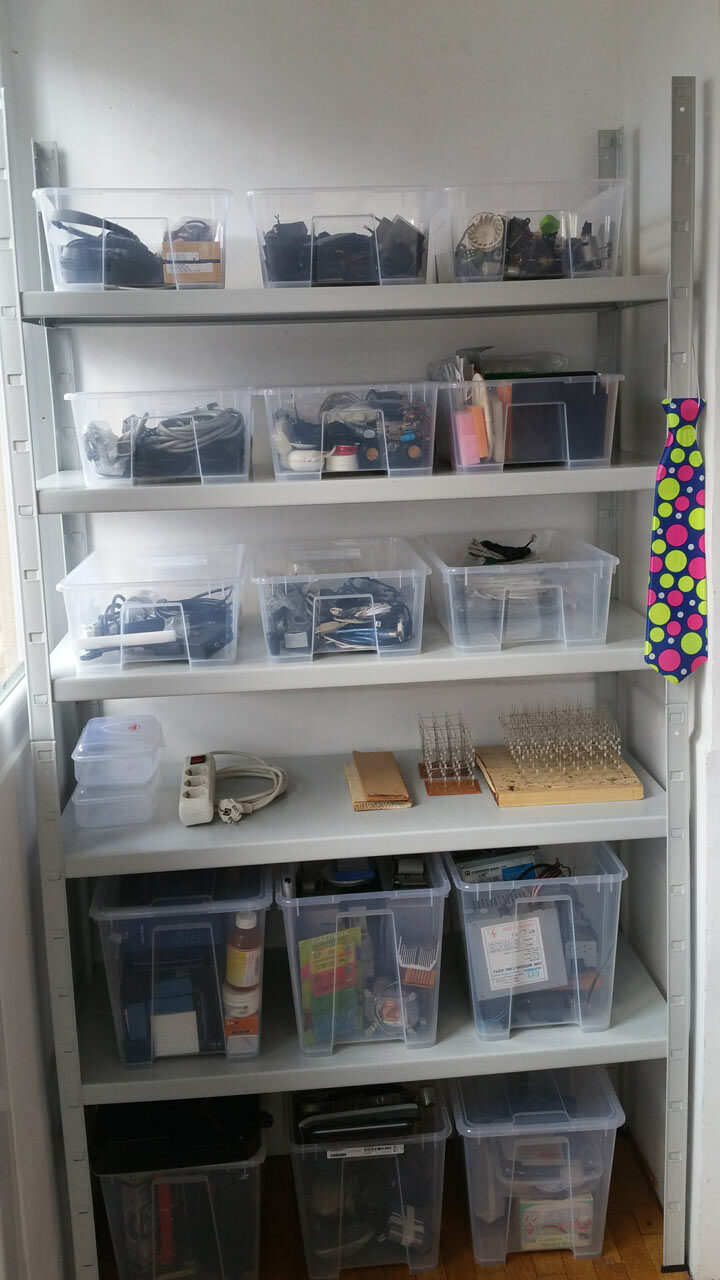
The next stage after every circuit board design was the assembling process. During the years, I gathered a small stock of SMT passive components and integrated circuits. This collection was extremely useful during a last-minute process of assembling when I was forced to change the value of a sense resistor or decoupling capacitor.

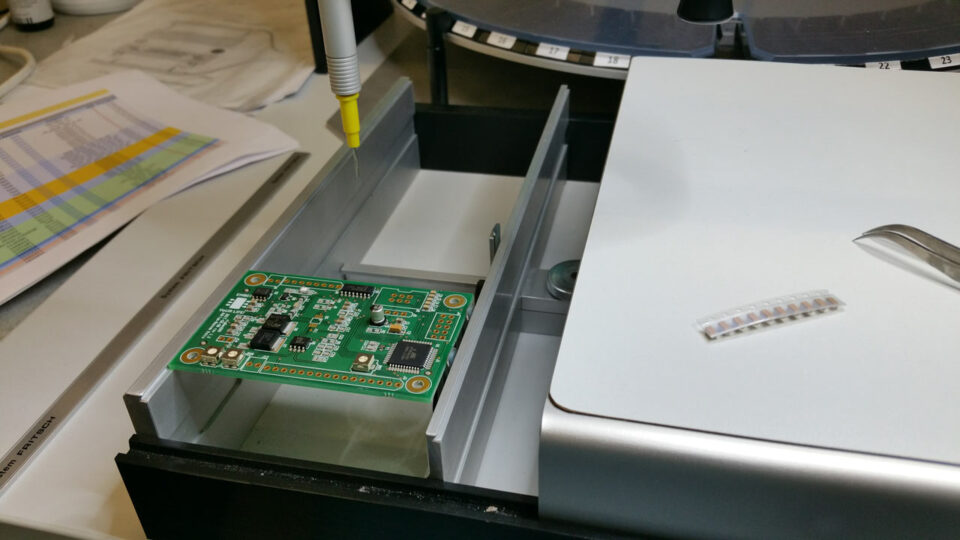
One other aspect of the assembling process was the logistics. Even if some projects were easily assembled using only my Weller PU 80 soldering station, some required solder paste printing and pick and place machines. Luckily enough, being involved as a young researcher at the Faculty of Electronics gave me access to the Center for Electronic Technology and Interconnection Techniques (UPB-CETTI) where professional machines such as pick and place or reflow ovens were available and where I successfully assembled boards for projects such as SMSGate, smart cane for VI sigGen 200 or nanodroid.
However, in 2018 I also developed my own DIY reflow oven from a hacked electrical one, called reflowster. After some hard research and development work, the reflowster oven had good performances for a DIY hack and I eventually used it as an alternative for projects such as Centenescu, Bradescu, or microEDMpulse (continued).

Product Design
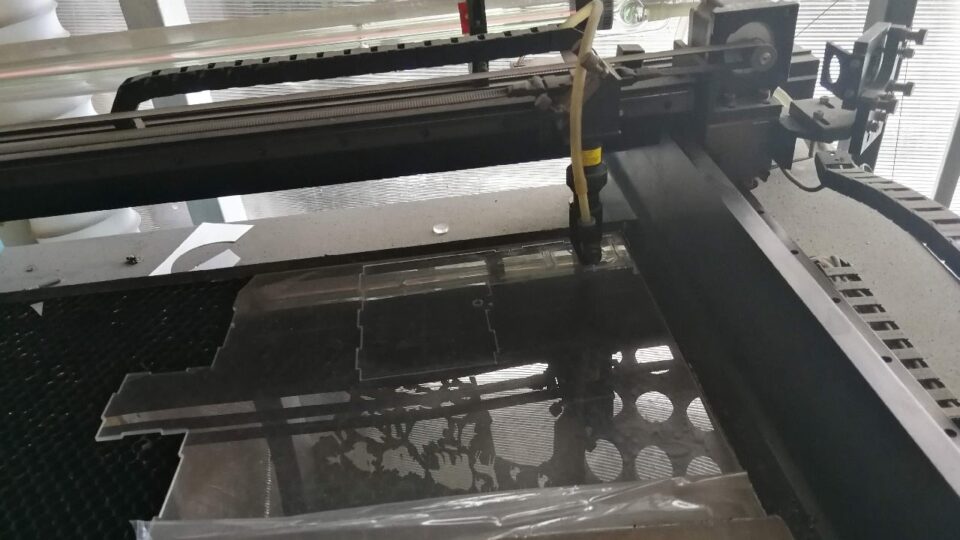
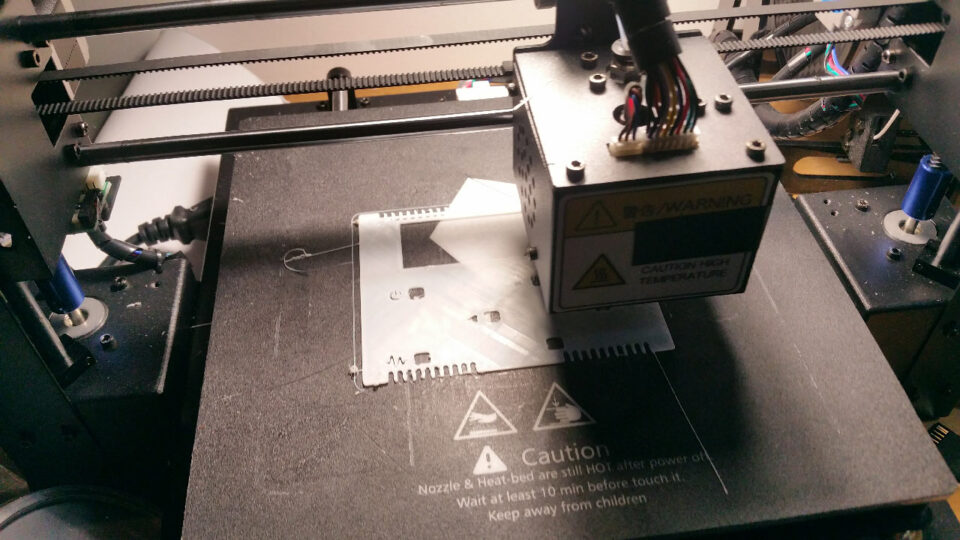
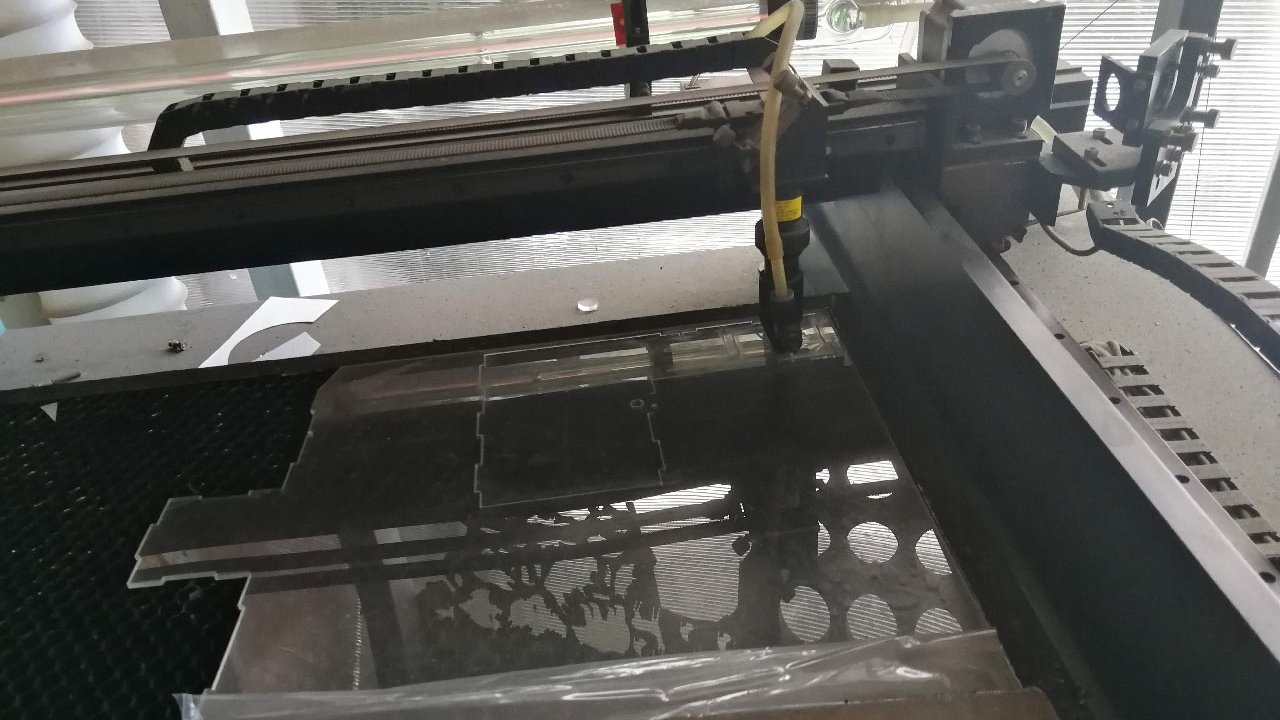
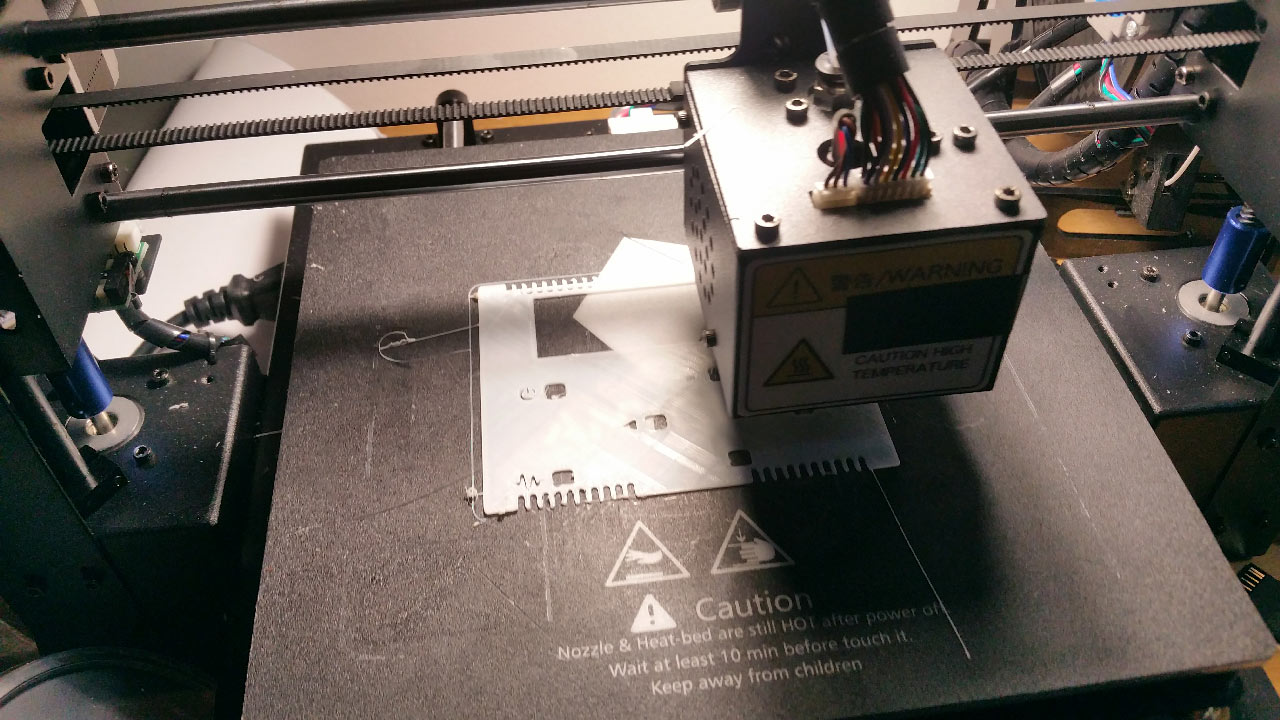
The final stage in the development of every project was product design. Working at Modulab as a Junior Hardware Engineer also gave me access to their workspace with lots of production tools and methods that I didn’t have in my Embeto Electronics space. At Modulab is where I learned about laser cutting, 3D printing, and how to combine these two techniques to develop enclosures in Autodesk Fusion 360 for projects such as SMSGate, Dexter v2, or smart cane for VI.


